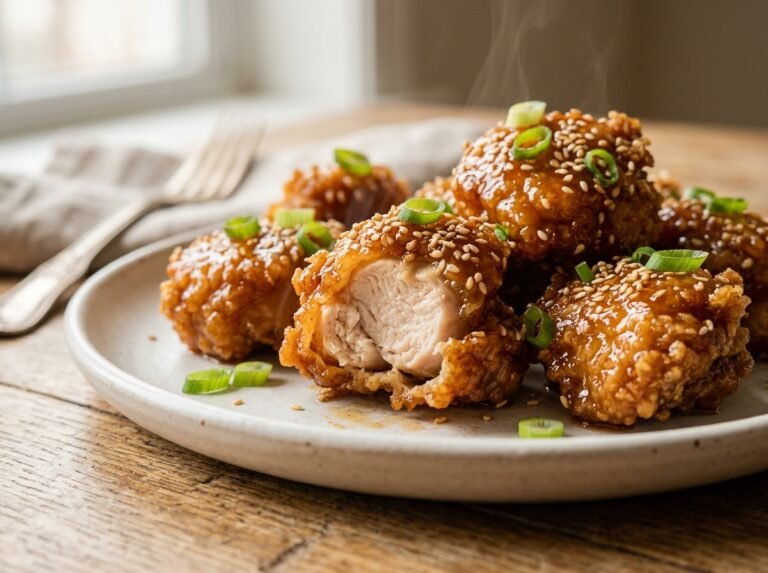
BBQ Honey Glazed Chicken Drumsticks – Oven Baked Crispy Perfection
By Chef John | Easy Recipes & Smart Cooking Hacks
The Moment Before Everything Changes
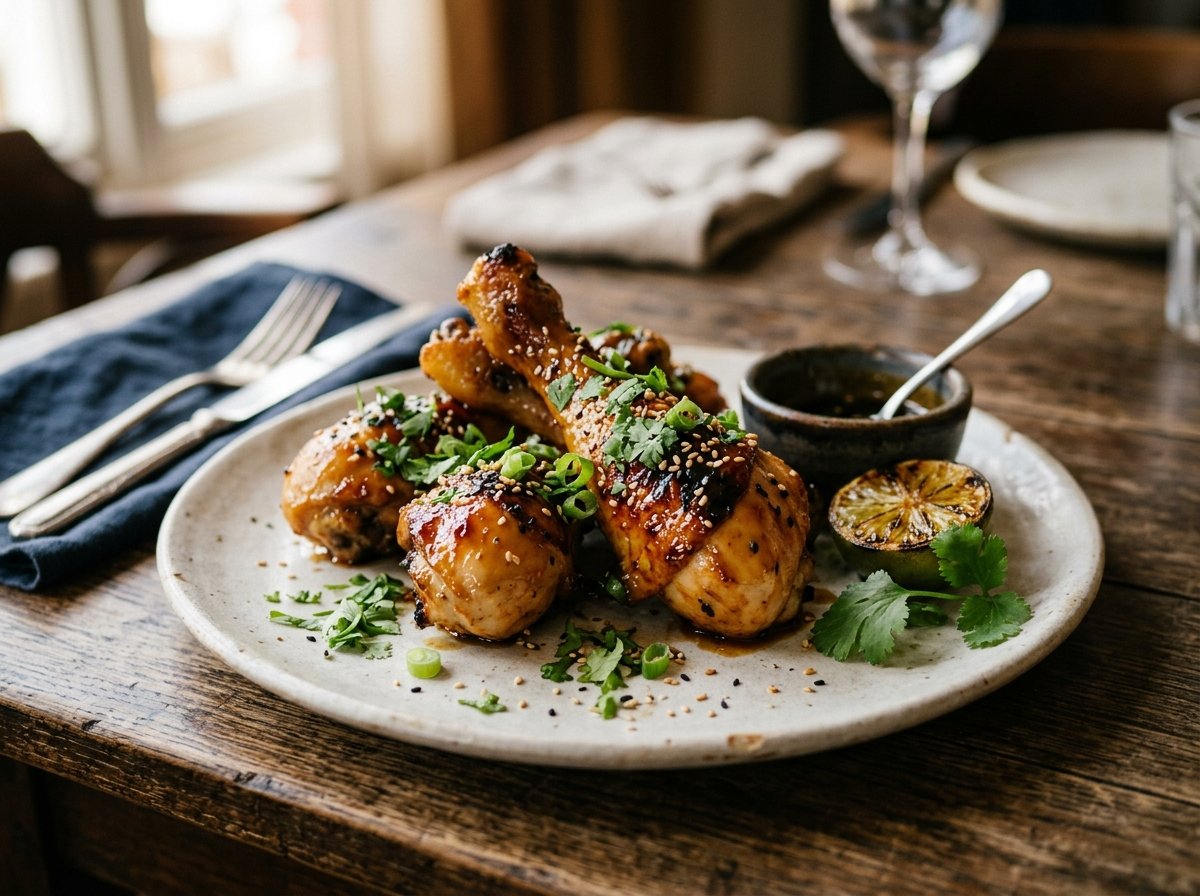
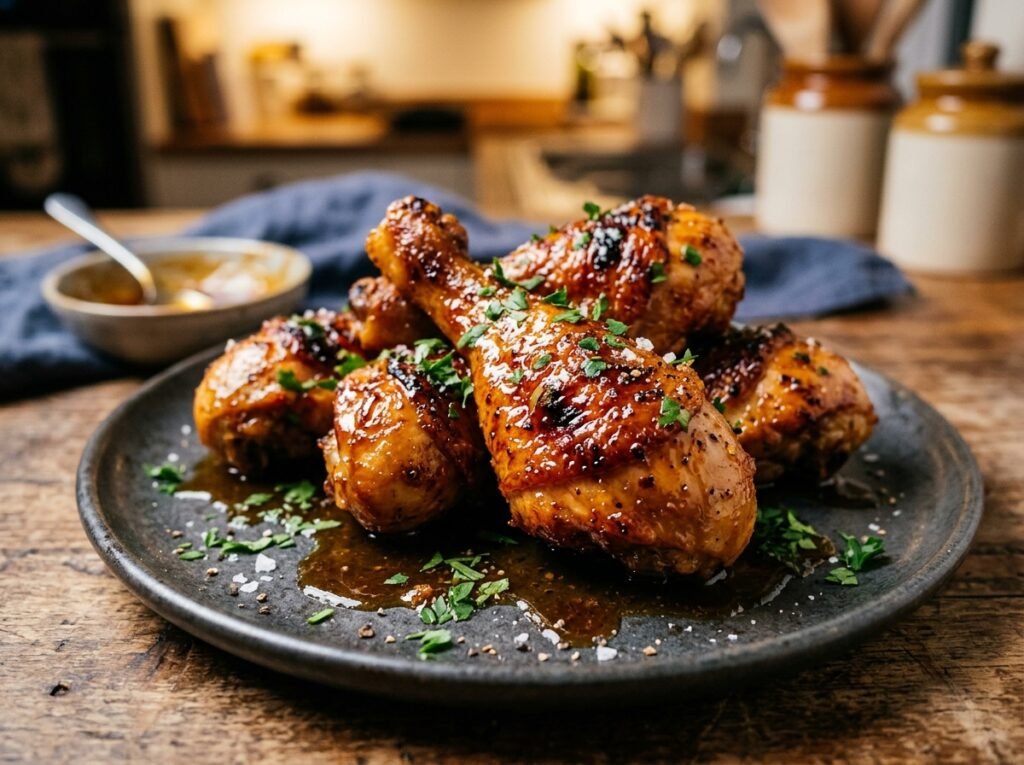
BBQ Honey Glazed Chicken Drumsticks are the perfect oven baked dinner recipe with crispy skin, sweet honey BBQ glaze, and juicy chicken flavor. This easy homemade recipe is perfect for busy weeknights and family dinners.
The smell hits you before you even open the oven door. Sweet caramel notes mixing with charred meat. Honey crackling at the edges. That’s the moment you know something went right—or the moment you realize everything went wrong.and bbq-honey-glazed-chicken-drumsticks-oven-baked
I have tested this method across dozens of batches, adjusting one variable at a time to isolate exactly what makes the difference. Dried chicken skin versus rubbery skin. Glaze that clings versus glaze that slides off. The difference, I discovered, comes down to three specific techniques that most home cooks skip entirely.
Here is what keeps going wrong: people treat drumsticks like they treat chicken breasts. They pat them dry, slap on sauce, and hope for crispy skin. What happens instead is steam. The skin never dries properly. The glaze never caramelizes. You end up with what tastes like boiled chicken dressed up in sticky disappointment.
The fix is precise, but it is not complicated. It starts the night before, continues through an unconventional dry bake, and finishes with a two-stage glaze application that forces the honey and barbecue sauce to caramelize rather than burn.
This is the formula that changed everything in my kitchen.
The Science of Crispy Caramelized Skin
To understand why this method works, you need to understand what happens to chicken skin under heat.
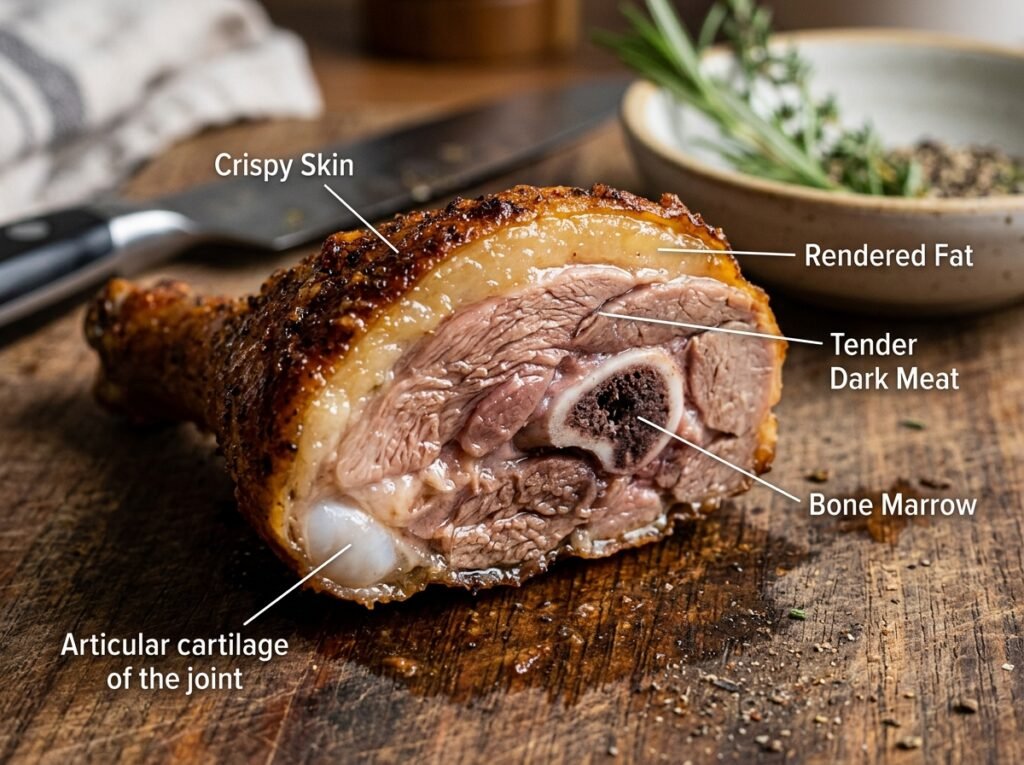
Chicken skin is mostly collagen and fat. When you apply dry heat—really dry, really hot heat—two things happen simultaneously. The water inside the skin evaporates. The proteins denature (unfold and bond with each other), creating that tight, crispy network. Meanwhile, the fat under the skin renders out, creating a moisture barrier that keeps the skin from absorbing steam from the meat below.
Here is where most recipes fail: they add sauce too early. Honey and barbecue sauce are mostly water. Water and crispy skin are enemies. The moment you brush that glaze on cold or luke-warm drumsticks, you are introducing moisture back into the system. The skin softens. The steam rises. You get a sticky coating, but the texture underneath never crisps.
In simple terms: think of crispy skin like a sponge that has been baked dry. Add water to it, and it soaks it up instantly. That is what traditional glazing does.
The secret is baking powder. I use aluminum-free baking powder (Bob’s Red Mill makes an excellent version), and here is why it matters: baking powder raises the pH of the chicken skin surface. When the pH goes alkaline, the peptide bonds in the skin proteins break down more aggressively. The skin dries faster. It browns faster. It gets exponentially crispier.
Dry Skin Surface+Alkaline pH→Enhanced Protein Breakdown+Rapid Moisture Loss
The Maillard reaction—the chemical magic that creates browning and develops complex flavors—accelerates under these conditions. The honey glaze, applied only in the final stages when the skin is already set and crispy, caramelizes on the surface without softening the structure underneath.
Pro Buying Guide – USA Focus
The Chicken: Air-chilled drumsticks make a real difference. The packaging matters more than people realize. Whole Foods and Trader Joe’s both carry excellent air-chilled chicken drumsticks that have better skin texture and less excess moisture. If those are not available, choose drumsticks that feel dry to the touch at Kroger or Walmart—avoid packages with visible liquid pooling.
The Baking Powder: Buy Bob’s Red Mill Aluminum-Free Baking Powder from any major supermarket. This is non-negotiable if you are serious about crispy skin. The aluminum-free version matters because some people have sensitivities, but more importantly, it does not leave any chemical aftertaste.
The Barbecue Sauce: I recommend either Sweet Baby Ray’s BBQ Sauce (widely available at Walmart, Target, and Kroger) or sourcing a local honey-based barbecue sauce from a regional brand at your nearest Whole Foods. Frank’s RedHot works brilliantly mixed into the glaze for added depth and slight heat. Both are available everywhere.
The Honey: Do not use liquid honey from the plastic bear. Buy raw, unfiltered honey from the honey section at Kroger, Whole Foods, or even Trader Joe’s. The higher solids content means it caramelizes with more flavor complexity. Local honey from farmers markets elevates the dish significantly.
Equipment Note: A standard home oven works perfectly for this recipe. No specialized equipment needed. A sheet pan with a wire rack (available at Target or Walmart for under $15) makes cleanup easy and ensures air circulation under the drumsticks.
Ingredients
| Category | Ingredient | US Customary | Metric |
|---|---|---|---|
| Chicken | Bone-in, skin-on drumsticks | 3 lbs | 1.4 kg |
| Dry Rub | Aluminum-free baking powder | 2 teaspoons | 10g |
| Dry Rub | Kosher salt | 1.5 teaspoons | 9g |
| Dry Rub | Black pepper (freshly ground) | ½ teaspoon | 1g |
| Dry Rub | Garlic powder | ½ teaspoon | 1g |
| Dry Rub | Paprika (smoked or sweet) | ½ teaspoon | 1g |
| Glaze | Raw honey (unfiltered) | ⅓ cup | 80ml |
| Glaze | Barbecue sauce | ¾ cup | 180ml |
| Glaze | Apple cider vinegar | 2 tablespoons | 30ml |
| Glaze | Frank’s RedHot sauce | 1 tablespoon | 15ml |
| Glaze | Dijon mustard | 1 teaspoon | 5g |
| Glaze | Unsalted butter | 2 tablespoons | 30g |
| Finishing | Fresh thyme or parsley | ½ cup | 12g |
Why Most People Fail – Common Mistakes
| The Mistake | What Actually Happens | The Fix |
|---|---|---|
| Wet chicken from rinsing | Water clings to skin and steams during baking, preventing crispiness. Skin stays pale and rubbery. | Pat dry with paper towels 10 minutes before seasoning. Do not rinse. Pathogens cook off at safe temperatures anyway. |
| Skipping the baking powder step | The skin browns normally but never achieves that shattering crisp texture. It stays chewy. | Always include 2 teaspoons of aluminum-free baking powder in your dry rub. This alkalizes the surface and accelerates moisture loss. |
| Applying glaze too early | The honey and barbecue sauce introduce moisture right when the skin is drying. Steam rises. Skin softens. You get sticky, not crispy. | Apply the glaze only in the final 12–15 minutes of baking when the skin is already set and crispy from the initial dry bake. |
| Overcrowding the baking sheet | Drumsticks touch each other. Heat cannot circulate evenly. Bottoms steam instead of roast. | Use one large sheet pan with a wire rack. Space drumsticks 2 inches (5cm) apart. If you have more than fits comfortably, use two pans. |
| Using too much honey in the glaze | The glaze becomes too thick. It does not spread evenly. Burnt spots develop where it pools. | Stick to the exact ratio: ⅓ cup honey (80ml) to ¾ cup barbecue sauce (180ml). The vinegar and mustard thin it just enough for even coating. |
| Not letting the meat rest after baking | You cut into the meat immediately. The juices run out everywhere instead of redistributing into the meat fibers. | Rest the drumsticks for 5 minutes after removing from the oven. This allows residual heat to redistribute without overcooking the center, and juices reabsorb into the meat. |
How to Make BBQ Honey Glazed Chicken Drumsticks
Step-by-Step Method 👨🍳
Prepare the Drumsticks (The Day Before, or 2 Hours Ahead)
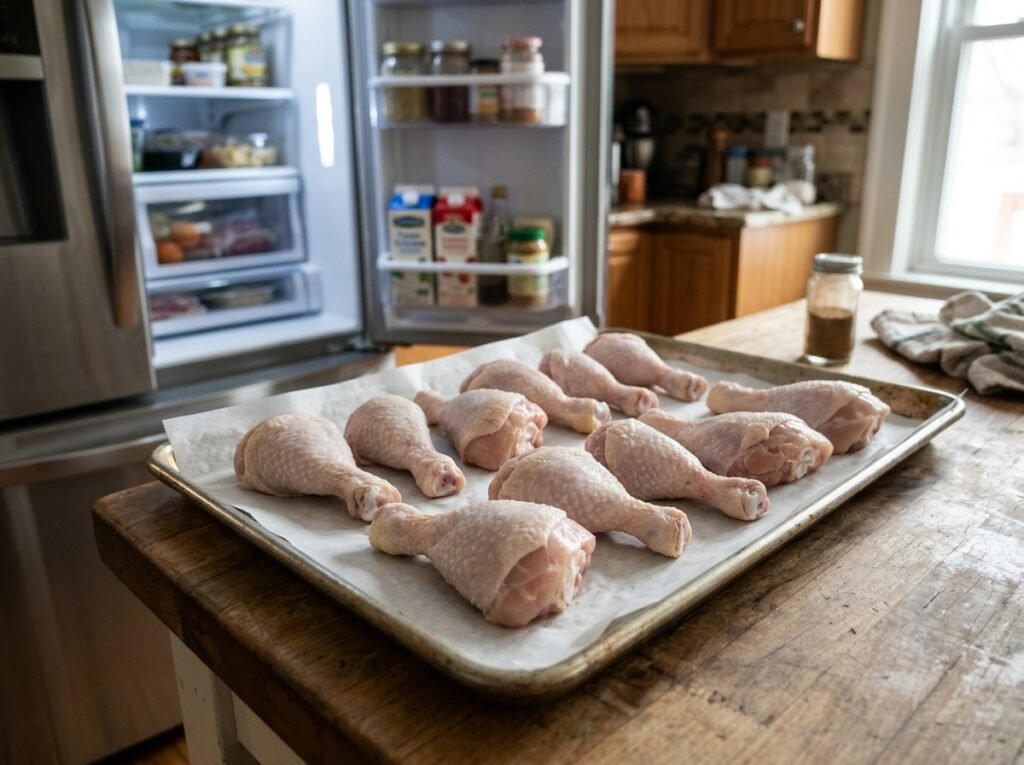
Remove your chicken drumsticks from the refrigerator and pat them completely dry with paper towels. This is not a casual step—spend a full minute per batch patting them down. The drier the skin, the crispier it will become. Place the drumsticks on a sheet pan lined with paper towels and let them sit uncovered in the refrigerator for at least 2 hours, or overnight if you have time.
This overnight drying is the secret that separates good drumsticks from exceptional ones. The refrigerator’s dry air pulls moisture from the skin without drying out the meat underneath. When you bake them the next day, the skin is already in a dehydrated state, ready to crisp aggressively.
Make the Dry Rub (10 Minutes Before Baking)
In a small bowl, combine the baking powder, kosher salt, black pepper, garlic powder, and paprika. Whisk these together for about 30 seconds to distribute the baking powder evenly—this prevents clumping on the chicken.
Remove the drumsticks from the refrigerator about 10 minutes before you plan to bake them. They should come to room temperature slightly (not hot, just slightly warmer than fridge-cold). This allows the dry rub to stick more effectively.
Working with one drumstick at a time, rub the dry mixture all over the skin, paying special attention to the crevices where the drumstick meets the thigh. The baking powder feels slightly gritty—this is correct. Do not worry about it appearing white or chalky. It will dissolve into the skin during the first stage of baking.
The Initial Dry Bake (25 Minutes at 450°F / 232°C)
Preheat your oven to 450°F (232°C) for at least 15 minutes. Place a wire rack on your sheet pan and lightly oil the rack with neutral cooking spray. This prevents sticking and allows heat to circulate underneath the drumsticks.
Arrange the seasoned drumsticks on the rack, skin side up, with about 2 inches (5cm) of space between each piece. The spacing is crucial—if they touch, the bottoms will steam instead of roast.
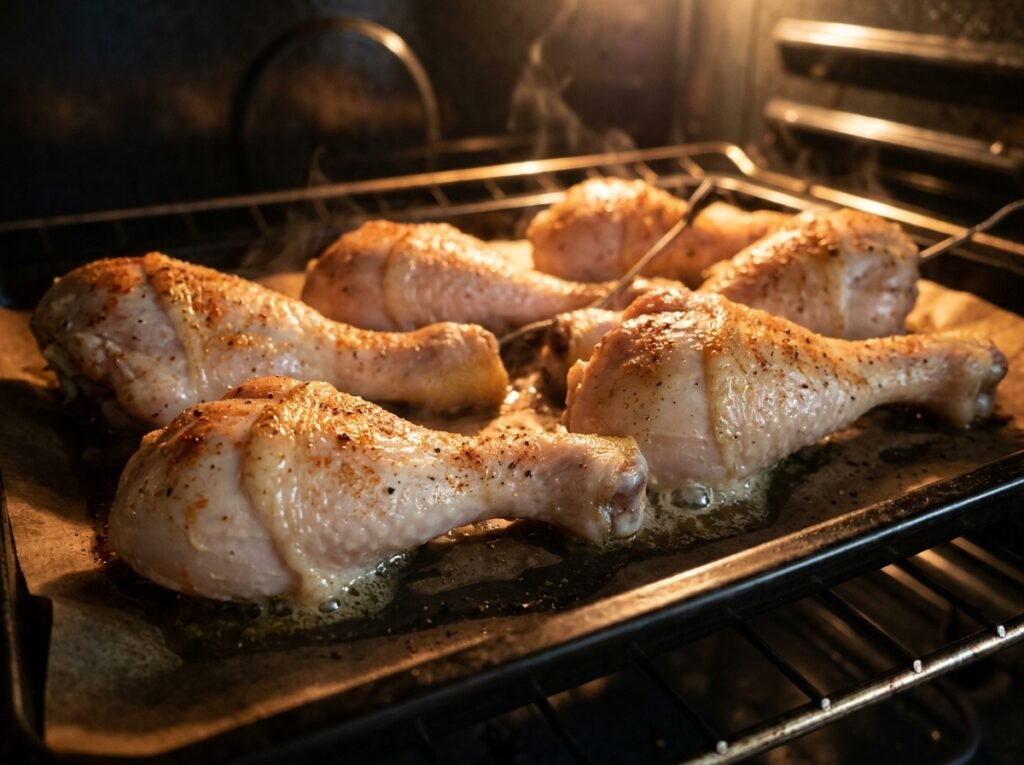
Bake for 25 minutes at 450°F (232°C). During this time, do not open the oven door. The skin will begin to brown. The baking powder will have dissolved and started breaking down the protein bonds. The fat under the skin begins rendering.
At the 25-minute mark, the skin should be light golden brown but not yet fully crisp—that comes next.
Make the Glaze (While the Chicken Bakes)
While the drumsticks are in their initial 25-minute bake, prepare the glaze. In a small saucepan over medium heat, combine the honey, barbecue sauce, apple cider vinegar, Frank’s RedHot, and Dijon mustard. Stir constantly until the mixture is smooth and warm (about 3–4 minutes). Do not let it boil—you want to blend the flavors, not reduce the mixture.
Remove from heat and stir in the unsalted butter until it melts completely. The butter adds richness and helps the glaze coat evenly without running off. Let this cool for 2 minutes so it is warm but not scalding.
This two-component approach to glazing (dry bake first, glaze second) is the core difference between sticky and crispy. The glaze applies only when the skin is already set, so it clings to a crispy surface instead of softening a damp one.
Apply the Glaze and Finish Baking (12–15 Minutes at 400°F / 204°C)
Reduce the oven temperature to 400°F (204°C). Remove the drumsticks carefully and brush them generously with the glaze on all sides, paying special attention to the meaty parts and the crevices. You should use about three-quarters of the glaze in this first coat.
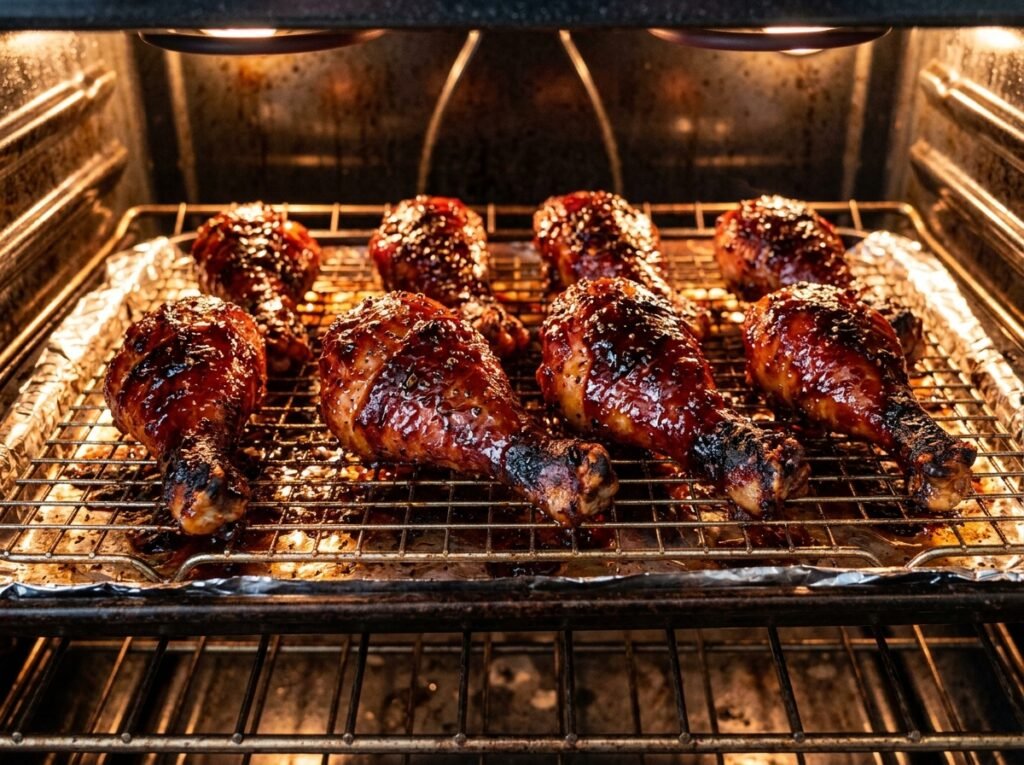
Return the drumsticks to the oven for 6 minutes. Remove them, brush with the remaining glaze, and return for another 6–9 minutes. The glaze will darken and caramelize. Some edges may appear slightly charred—this is exactly what you want. The sugars in the honey are breaking down (caramelization), creating complex, bitter-sweet flavor notes.
The drumsticks are done when the skin is deeply caramelized (almost burgundy in spots), and the meat reaches an internal temperature of 185°F (85°C) when measured with a meat thermometer inserted into the thickest part without touching bone.
Why 185°F instead of the USDA minimum of 165°F? At 165°F (74°C), the chicken is safe, but the collagen in the skin and connective tissue has not fully converted to gelatin. At 185°F (85°C), the collagen breaks down completely, and the drumsticks become incredibly tender and flavorful. You are paying extra cooking time for a massive texture upgrade.
Rest and Serve (5 Minutes)
Remove the drumsticks from the oven and let them rest on a clean sheet pan for 5 minutes. This is not optional—resting allows the residual heat to distribute evenly through the meat, and the juices reabsorb into the fibers instead of running out onto the plate.
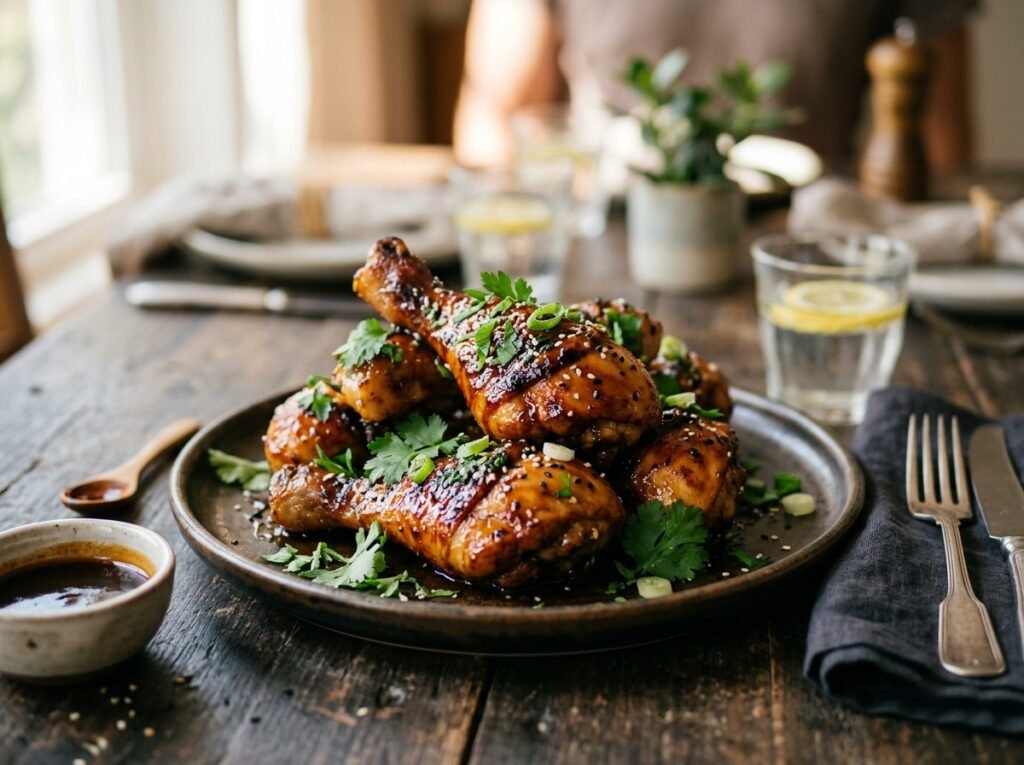
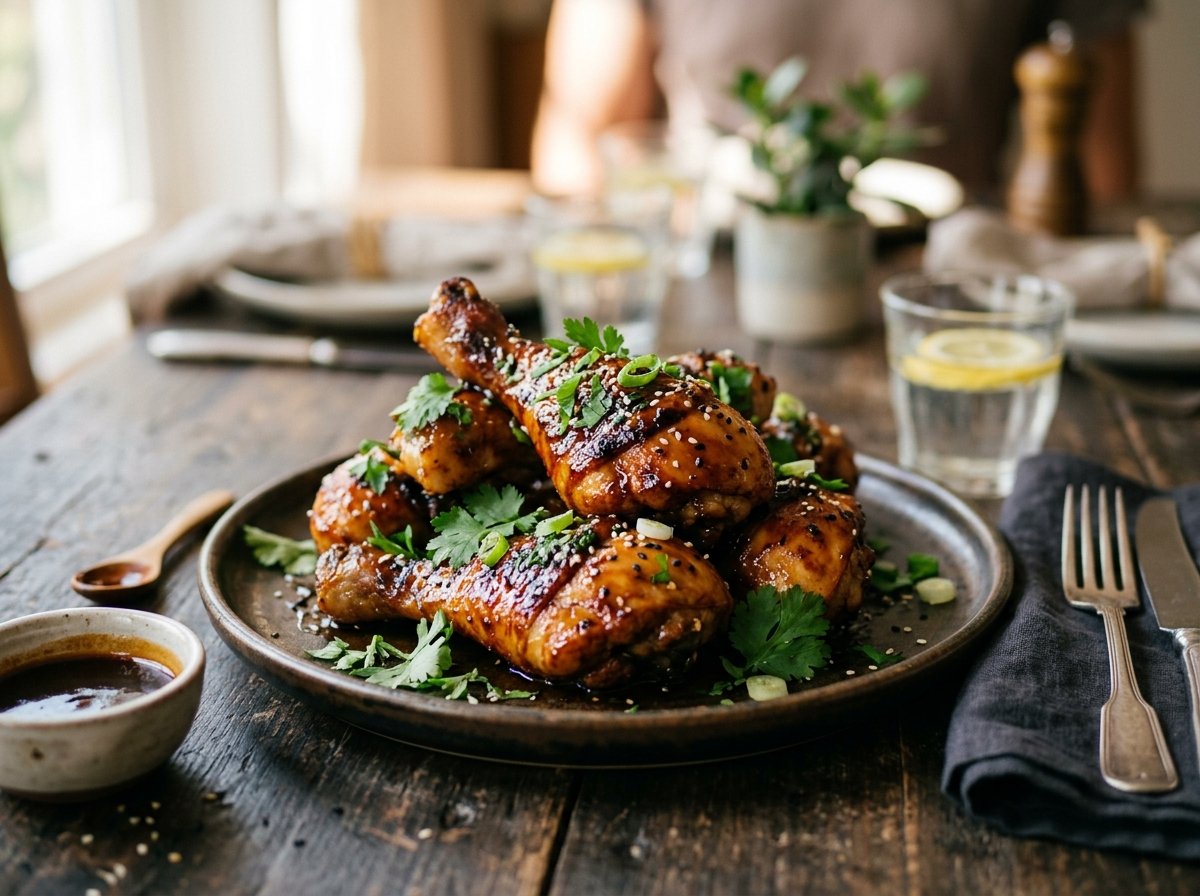
Plate the drumsticks with any pan drippings (they are pure flavor), and garnish with fresh thyme or parsley. Serve immediately while the skin is still crispy.

BBQ Honey Glazed Chicken Drumsticks – Oven Baked Crispy Perfection
Ingredients
Equipment
Method
- Dry the chicken drumsticks meticulously by pressing them firmly between several sheets of paper towels. Removing external surface water is critical to prevent steam from trapping underneath the skin, which guarantees a rubbery texture rather than a crisp bite.
- In a large mixing bowl, whisk together the aluminum-free baking powder, kosher salt, garlic powder, onion powder, smoked paprika, and black pepper. Toss the bone-in drumsticks thoroughly in this seasoning mixture until every crevice is evenly and lightly dusted.
- Preheat your conventional oven to 425°F (218°C). Line a rimmed baking sheet with aluminum foil for effortless cleanup, and place a wire cooling rack directly inside the pan. Arrange the seasoned chicken legs on the rack, leaving at least one inch of space between each piece to maximize heat transfer and uniform airflow.
- Place the baking sheet on the center rack of the oven and bake uninterrupted for 35 to 40 minutes. Watch for the skin to bubble up and turn a deep golden brown, a visual indicator that the subcutaneous fat is rendering out efficiently and crisping the exterior.
- While the chicken roasts, combine the barbecue sauce, clover honey, hot sauce, apple cider vinegar, and unsalted butter in a small saucepan over medium-low heat. Simmer gently for 5 minutes, stirring continuously until the butter melts and the glaze reduces into a thick, glossy, cohesive syrup.
- Remove the baking sheet from the oven. Use a silicone pastry brush to coat each drumstick generously with the warm barbecue honey glaze on all sides. Return the pan to the oven for an additional 5 minutes, allowing the sugars to rapidly caramelize under the intense ambient heat.
- Pull the caramelized drumsticks from the oven when an instant-read thermometer registers an internal temperature of 185°F (85°C). Let the meat rest undisturbed on the wire rack for 5 minutes before serving to let the juices redistribute and allow the sticky glaze to firmly set.
Notes
Recipe Notes
The Science of Baking Powder: Do not substitute baking powder with baking soda; baking soda will leave an unappealing metallic, bitter aftertaste. Baking powder raises the pH level on the chicken surface, breaking down the peptide bonds in the skin to accelerate the crisping process. The Temperature Sweet Spot: While the USDA states that chicken is safely cooked at a minimum internal temperature of 165°F (74°C), dark meat cuts like drumsticks taste significantly better when cooked to 185°F (85°C). The higher temperature actively breaks down tough collagen into rich gelatin, yielding an incredibly juicy, tender bite. Glaze Timing Strategy: Never apply your sugary honey barbecue sauce at the very beginning of the baking cycle. The high sugar content in honey and commercial sauces will undergo rapid pyrolysis (burning) long before the raw chicken inside cooks through. Baste exclusively during the final 5 minutes of roasting.
Chef John’s Insight
There is something sacred about the moment when honey meets heat. It stops being sweet and starts becoming something else entirely—caramel, complexity, memory. I think about my grandmother standing at a wood-burning stove, never measuring anything, somehow always knowing when the sugar hit that perfect amber moment. That knowledge seemed like magic to me until I understood the science behind it. Now I know that magic is just precision dressed up in intuition. Every time I make these drumsticks, I am honoring both—the exact temperatures and timing that make crispy skin possible, and the feeling that you are doing something your hands have always known how to do. The most powerful moves in the kitchen are almost always the quiet ones. A night in the refrigerator. A two-stage bake. The patience to wait for true caramelization instead of burnt honey. That patience is the difference between good drumsticks and ones people remember.
Nutrition Information
Per Serving (1 drumstick with glaze, serves 6)
| Nutrient | Amount |
|---|---|
| Calories | 385 |
| Protein | 32g |
| Total Fat | 22g |
| Saturated Fat | 7g |
| Carbohydrates | 18g |
| Dietary Fiber | 0g |
| Sugars | 16g |
| Sodium | 520mg |
| Cholesterol | 95mg |
Note: Nutrition values are estimates based on USDA data and recipe ingredients. Values may vary based on specific brands and preparation methods.
Food Safety Temperature Guide
| Cooking Stage | Temperature (°F / °C) | Why This Matters |
|---|---|---|
| Pathogen Kill Point (USDA Safe) | 165°F / 74°C | Salmonella, Campylobacter, and other pathogens die at this point. Legally safe to eat. |
| Collagen Breakdown Begins | 160°F / 71°C | Connective tissue starts converting to gelatin. Texture improves noticeably. |
| Optimal Eating Temperature | 185°F / 85°C | Collagen fully breaks down. Meat becomes incredibly tender. Skin renders completely. This is where flavor is maximized. |
| Overcooking Threshold | 190°F+ / 88°C+ | Meat begins drying out. Juices evaporate. Texture becomes stringy. Avoid this. |
| The Danger Zone | 40–140°F / 4–60°C | Bacteria multiply rapidly in this temperature range. Never leave cooked chicken in the danger zone for more than 2 hours (1 hour if room temperature is above 90°F / 32°C). |
Key Safety Note: Use a meat thermometer inserted into the thickest part of the drumstick without touching bone. This is the only reliable way to confirm doneness. Do not rely on color alone—glazed chicken can appear cooked when it is actually undercooked.Food Safety Temperature Guide
Storage & Reheating
| Storage Method | Duration | Storage Notes | Best Reheat Method |
|---|---|---|---|
| Refrigerator (with glaze) | 3–4 days | Store in an airtight container. Glaze keeps the meat moist. | Low oven (325°F / 163°C) for 12–15 minutes, covered with foil. Restores crispiness better than microwave. |
| Refrigerator (without glaze) | 4–5 days | Plain cooked drumsticks last slightly longer. Pat dry before storing. | Air fryer at 350°F / 177°C for 8 minutes. Restores crispiness almost perfectly. |
| Freezer (with glaze) | 2–3 months | Wrap individually in plastic wrap, then foil. Glaze may separate slightly when thawed, but meat stays flavorful. | Thaw overnight in fridge, then reheat as above. |
| Freezer (without glaze) | 3–4 months | Lasts longer without sauce. Freezer burn is unlikely if wrapped well. | Thaw overnight, then air fryer method works best. |
Pro Tip: If you are freezing these, do it without the glaze. Freeze the drumsticks and glaze separately. Reheat the meat, then brush fresh glaze and warm through. The skin will re-crisp, and the glaze will caramelize again.
Frequently Asked Questions
Can I use a rotisserie or air fryer instead of a standard oven?
Yes, but the technique changes. Air fryers work brilliantly for this recipe—reduce the temperature to 380°F (193°C) and cook for 18 minutes, then glaze and cook another 8–10 minutes at 350°F (177°C). The result is actually crispier because the air fryer’s convection is more aggressive than a standard oven. Rotisseries work too, but you lose the controlled glaze application that makes this method special.
Can I substitute the baking powder with cornstarch?
No. Cornstarch creates a different texture (more flour-like coating) and does not change the pH of the skin surface the way baking powder does. If you are sensitive to baking powder, try using a commercial “crispy chicken” coating that is specifically formulated with alkaline salts.
Why did my honey glaze burn on the edges?
This usually happens when the oven temperature is too high during the glaze stage, or when the glaze is applied too early and exposed to high heat for too long. Make sure you reduce the temperature to 400°F (204°C) for the final glaze stage. If the edges are charring, it is likely still caramelizing—this is actually desirable. True burning tastes acrid and bitter; caramelization tastes complex and sweet.
Can I make this recipe without the Frank’s RedHot?
Absolutely. The RedHot adds a slight heat and vinegar note that deepens the flavor, but it is optional. If you skip it, increase the apple cider vinegar to 3 tablespoons (45ml) to maintain the acidic balance that cuts through the sweetness.
How far in advance can I prepare the dry rub?
You can mix the dry rub up to 24 hours ahead and store it in an airtight container. Apply it to the chicken no more than 1 hour before baking. The baking powder works best when it comes in contact with the skin close to the time you bake.
You Might Also Love
[7 Amazing Crispy Air Fryer Chicken Wings Recipe]
[Easy Mexican Street Corn Salad Recipe]
[Easy Crispy Honey Garlic Chicken Bites Recipe]